
This tutorial introduces basics of Angular 2 with the goal of creating and serves a basic Angular CLI App.
Angular 2 is an open source modern JavaScript framework for front end Applications. Angular 2 is complete rewrite of Angular 1 and is 5 times faster than Angular1. Lets start developing your first App on Angular 2 using Angular CLI.
Prerequisite:
- Install NodeJs
- Install WebStorm 2016.2.
- Install Typescript by writing following command at terminal => npm install -g typescript
- Install Angular CLI by writing following command at terminal => npm install -g angular-cli
Getting Started
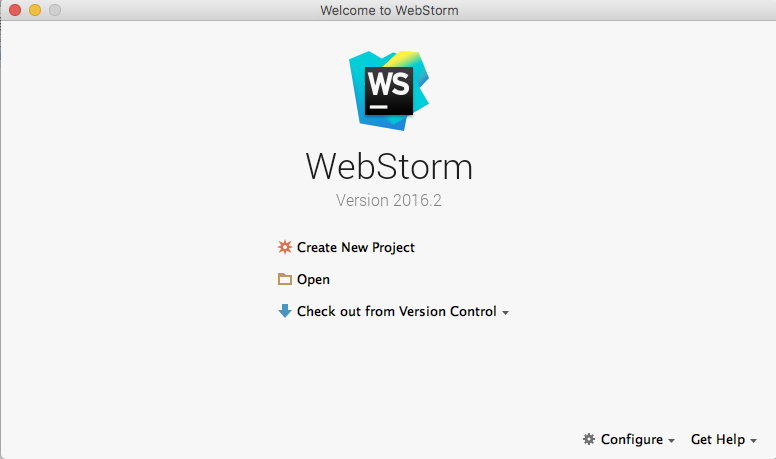
Start up WebStorm then click on “Create New Project”.
Select Angular CLI from left side panel.

Write the name “Angular2FirstApp” with complete App path in Location Field then click on Create button.
This will take few minutes to setup all prerequisites and download all dependencies.

Once it finished Your First app is ready now take a look first at Project directory structure.

We will write all development code in src/app that need to compiled.
Before we proceed we have to review some basic building blocks of Angular 2.
Components:
Angular 2 is a component based Framework. Angular 2 app is a tree of loosely coupled component having a root component that contains all other components.
In our App “main.ts” is root file

look at this line
bootstrap(AppComponet);
bootstrap method is used to load top-level components.
Check out AppComponet.

In first line of “app.component.ts” we import build-in Component Module from “@angular/core”.
A component is like a widget, a piece of content that can be reused in your application. It can a complete view or a part of view having all code required to create, display and manage it.
Decorators
A component have 2 main parts.
- Class
- Meta data
Class is simple typescript class having constructor and all related code.
Metadata tells Angular how to process a class. Metadata is attached by using decorator.
@Component decorators allow developers to configure classes as particular elements by setting metadata on them.
@Component({
selector: ‘app-root’,
templateUrl: ‘app.component.html’,
styleUrls: [‘app.component.css’]
})
in above decorator 3 properties are defined
- selector – css selector that identifies this component in a template
- templateUrl – url to an external file containing a template for the view
- styleUrls – list of urls to stylesheets to be applied to this component’s view
Now take a look at body part of index.html
<body><app-root>Loading…</app-root>
…
</body>
Here selector “app-root” is used that mean it will load all the html defined in template whose selector is “app-root”.
As “app.component.ts” class metadata has selector “app-root” and its “templateUrl ” is “’app.component.html” that means it loads all the html defined in “app.component.html”.
In “app.component.html” following code is defined.
<h1>
{{title}}
</h1>
Here Angular Data Binding is used , these double curly bracket “{{}}” shows value of title is come from typescript class.
Serve and Test Your First App
To serve our app write on terminal of webStorm.
ng serve
above command will build a server for us with Node and open up our browser.

You can see result at http://localhost:4200

Now in “app.component.html” add following lines
<p>This is my first Angular 2 test app </p>
<button (click)=“ClickMe();”>Click me</button>
Define ClickMe() function in “app.component.ts”
Updated “app.component.ts” looks like this

All these changes will automatically update and you can see the result.

In this tutorial we covered some basic concepts of Angular 2 app and we simply create a simple Angular CLI app and serve it.
Leave a Reply